To properly install and use the WooCommerce plugin, please read and follow the instructions below carefully. For help, you can contact us at it@warehouse.si.
To start sending packages via Warehouse.si, you will also need a contract with delivery services for each selected country. If you do not have contracts yet, we suggest that you do so as soon as possible. You can read more about how we can help you choose delivery servicesHERE.
Installing the Warehouse plugin
1. After signing the contract, we will send the WooCommerce plugin (.zip file) to your email address.
2. Save the file on your local computer (e.g. in the "Documents" folder).
3. Open your favorite browser and go to the administration panel of your website (WooCommerce online store, e.g. www.mojatrgovina.com/wp-admin).
4. On the left side you have the "Plugins" option in the navigation, click on it (image below).
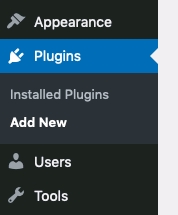
5. Find the Add button, click on it (image above).
6. Then comes the step "Upload plugin", click on it (image below).

7. Click on the "browse" button and find the plugin on your computer. Once you have selected it, confirm it with the "Install Now" button (image below).
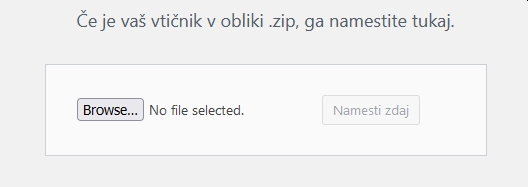
8. The system will now automatically load the plugin to use the Warehouse system.
Installing a connection with an API token password
1. On the left side in your WooCommerce navigation, you will now see the new option "Warehouse.si" (image below).
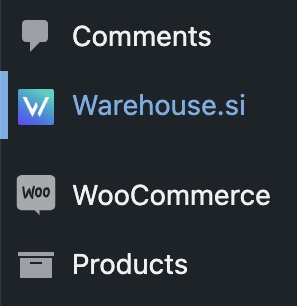
2. Click on the option "Warehouse.si" and then click on "Settings" (picture below).

3. In the empty box, enter your API Token password that you received at your email address and confirm with the blue "Save changes" button. After correct entry, you will see a green welcome message (image below).
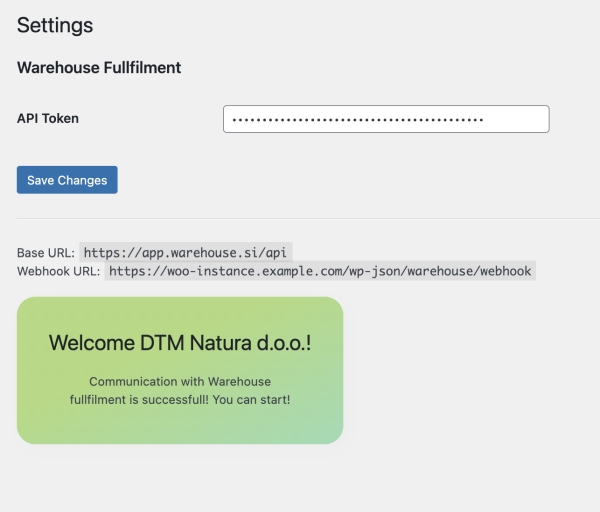
4. If you have problems entering the password in the API Token, you will see the red warning below. Try again, pay attention to upper and lower case letters. If you fail again, contact us at it@warehouse.si.

Transferring orders from your administration to Warehouse.si
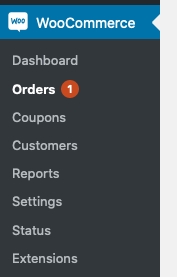
1. On the left side in your WooCommerce navigation, select "WooCommerce - Orders" (image below).
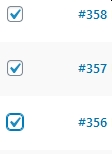
2. Tick all the orders you want to send (image below).
3. By clicking the "Send to Warehouse Fulfillment" button located at the top of the toolbar, you send them to our Warehouse Fulfillment center, where they will be carefully packed and shipped (image below).

4. Those orders that you have already sent to our Warehouse Fulfillment center will be marked with a blue W icon to help you distinguish them from the others. (picture below).

Track order statuses and details
1. You can now track the details of your orders right in your administration, as the two systems are interconnected (when we change the status of the shipment, it automatically changes for your order in your system as well (image below).

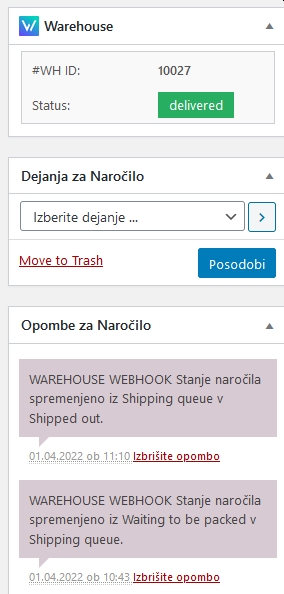
2. For details about the order and its status, you can open it in your administration and see how the packaging of this order went on the right side (image below).
Comments